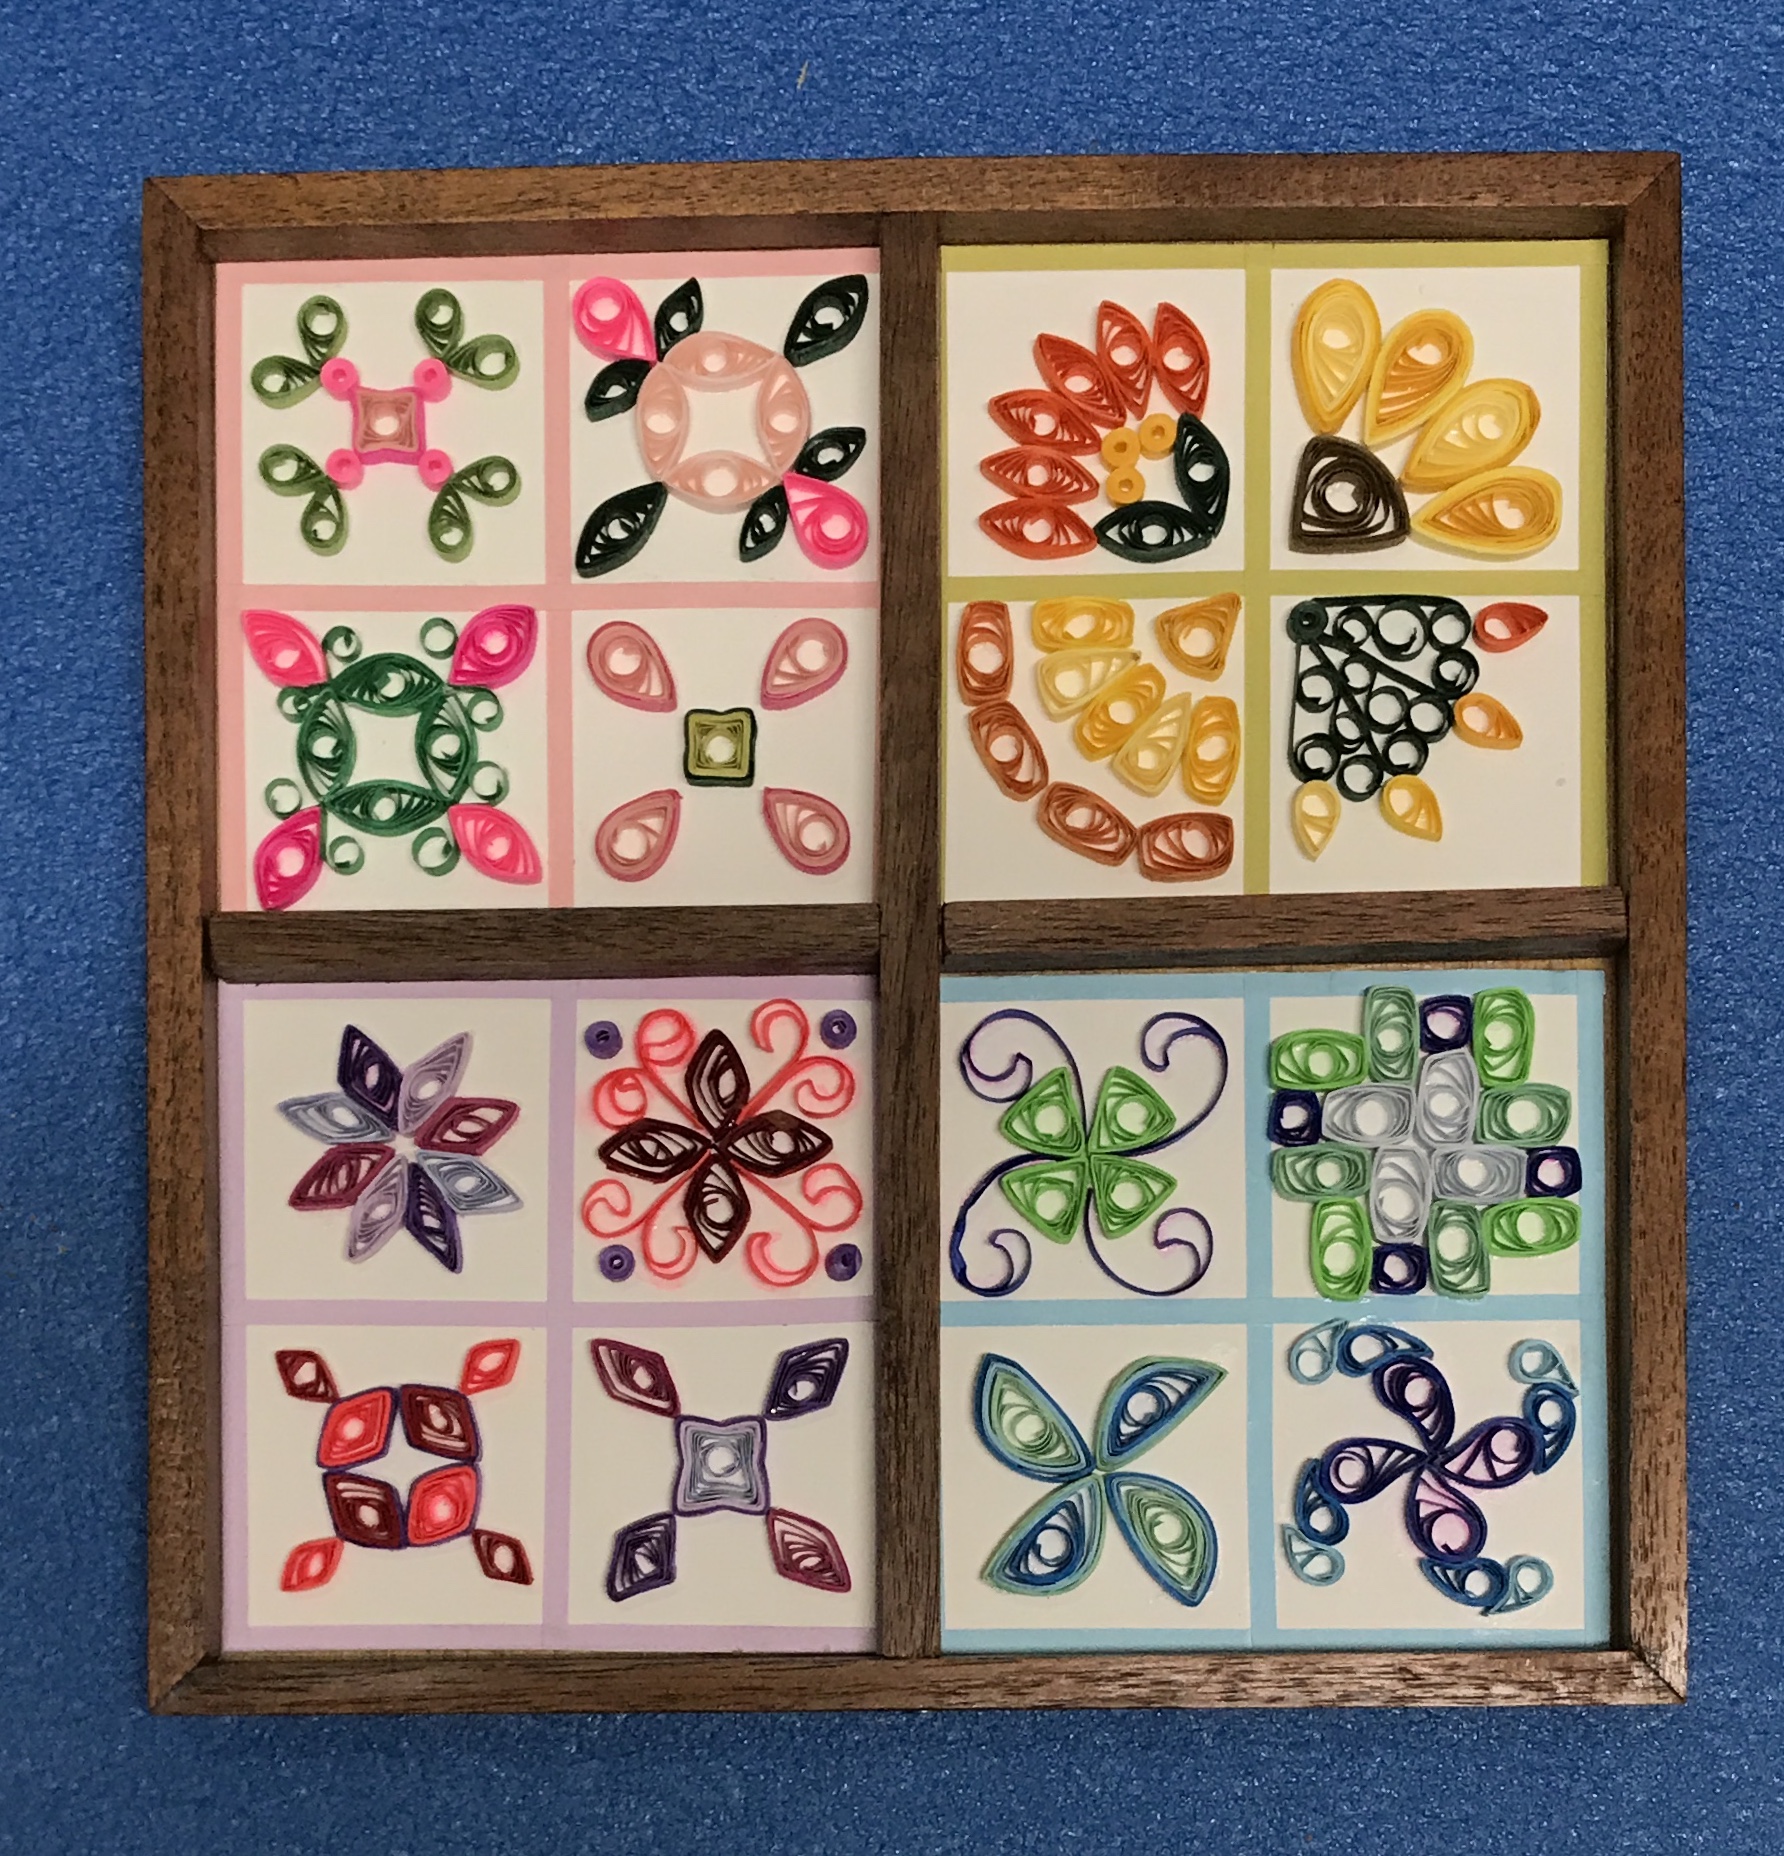
Rhea completed a quilling project that consists of four 3 3/8" squares each with a different quilling work. It would be nice to have a frame that held all four pieces. A frame was planned that was minimalistic so as to let the quilling stand out. The plan was to have a frame with rabbet on the bottom to hold a square of thin stock to which the four pieces could be glued. A pair of dividers would separate the four squares.
The frame is 1/4" thick and made from walnut. A long piece of walnut was cut to 23" and the sides made parallel. A 1/8" deep by 1/4" high rabbet was made on each side. The sides were then cut off of the blank so the pieces with the rabbets were 1/4" thick. The wood was about 5/8" thick to start with, so the width of the wood above the rabbet is 3/8". The resulting piece of wood was 3/8" thick so it was cut to 1/4". The dividers will come from this last blank.
The two blanks with rabbets were cut into six 7 3/4" lengths. The miter gauge was set accurately to 45° with the aid of the framing square. One end of each of these six pieces was cut at 45°. The miter gauge was left at 45° but moved to the other side of the table. A simple jig was constructed from a block of wood that had a 1/4" deep rabbet. A stop was fixed to the block with two screws. The stop was held against a small block of wood clamped to the miter gauge. Using a blank this clamped block was adjusted until the resulting frame part was 7 1/2" long. The remaining frame parts were cut to final length.
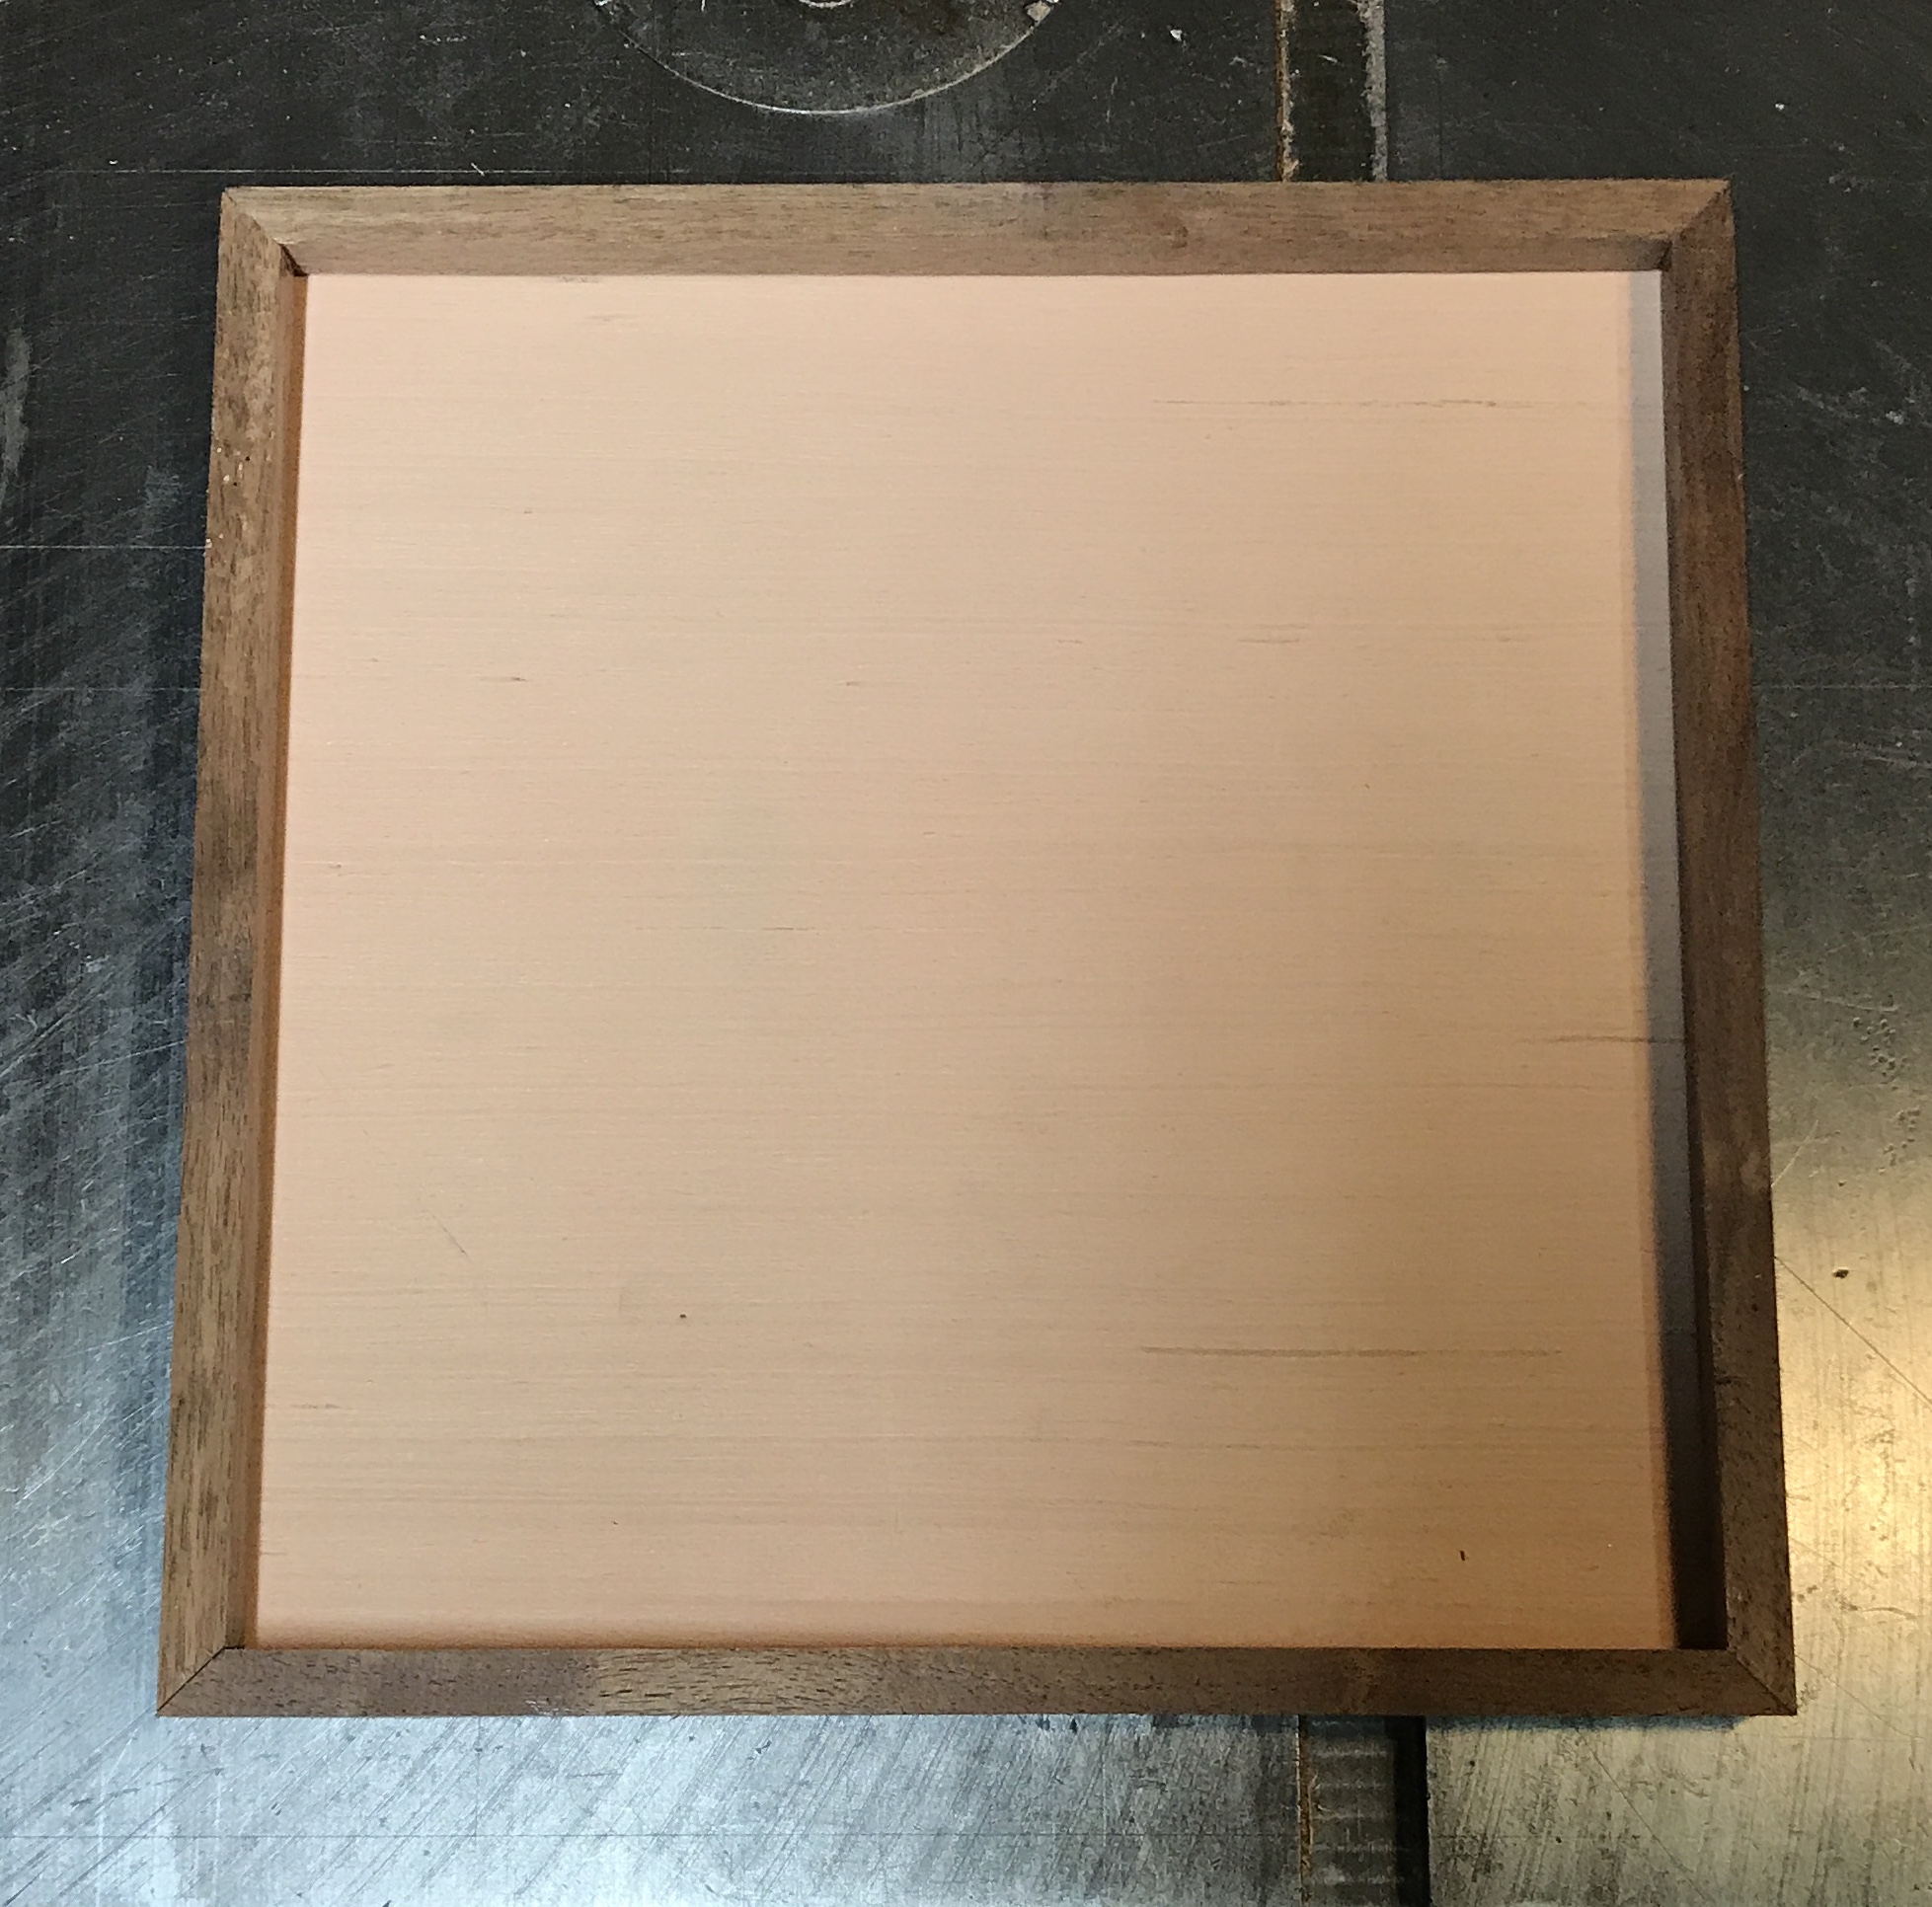
A rectangle of 1/4" plywood was handy and used for the bottom of the frame. It was cut to slightly less than 7 1/4". The frame was set in place and the bottom's fit was checked. A few adjusting cuts were needed to give a loose fit. All of the pieces were sanded with 220 grit paper. The edges of the frame were very lightly chamfered.
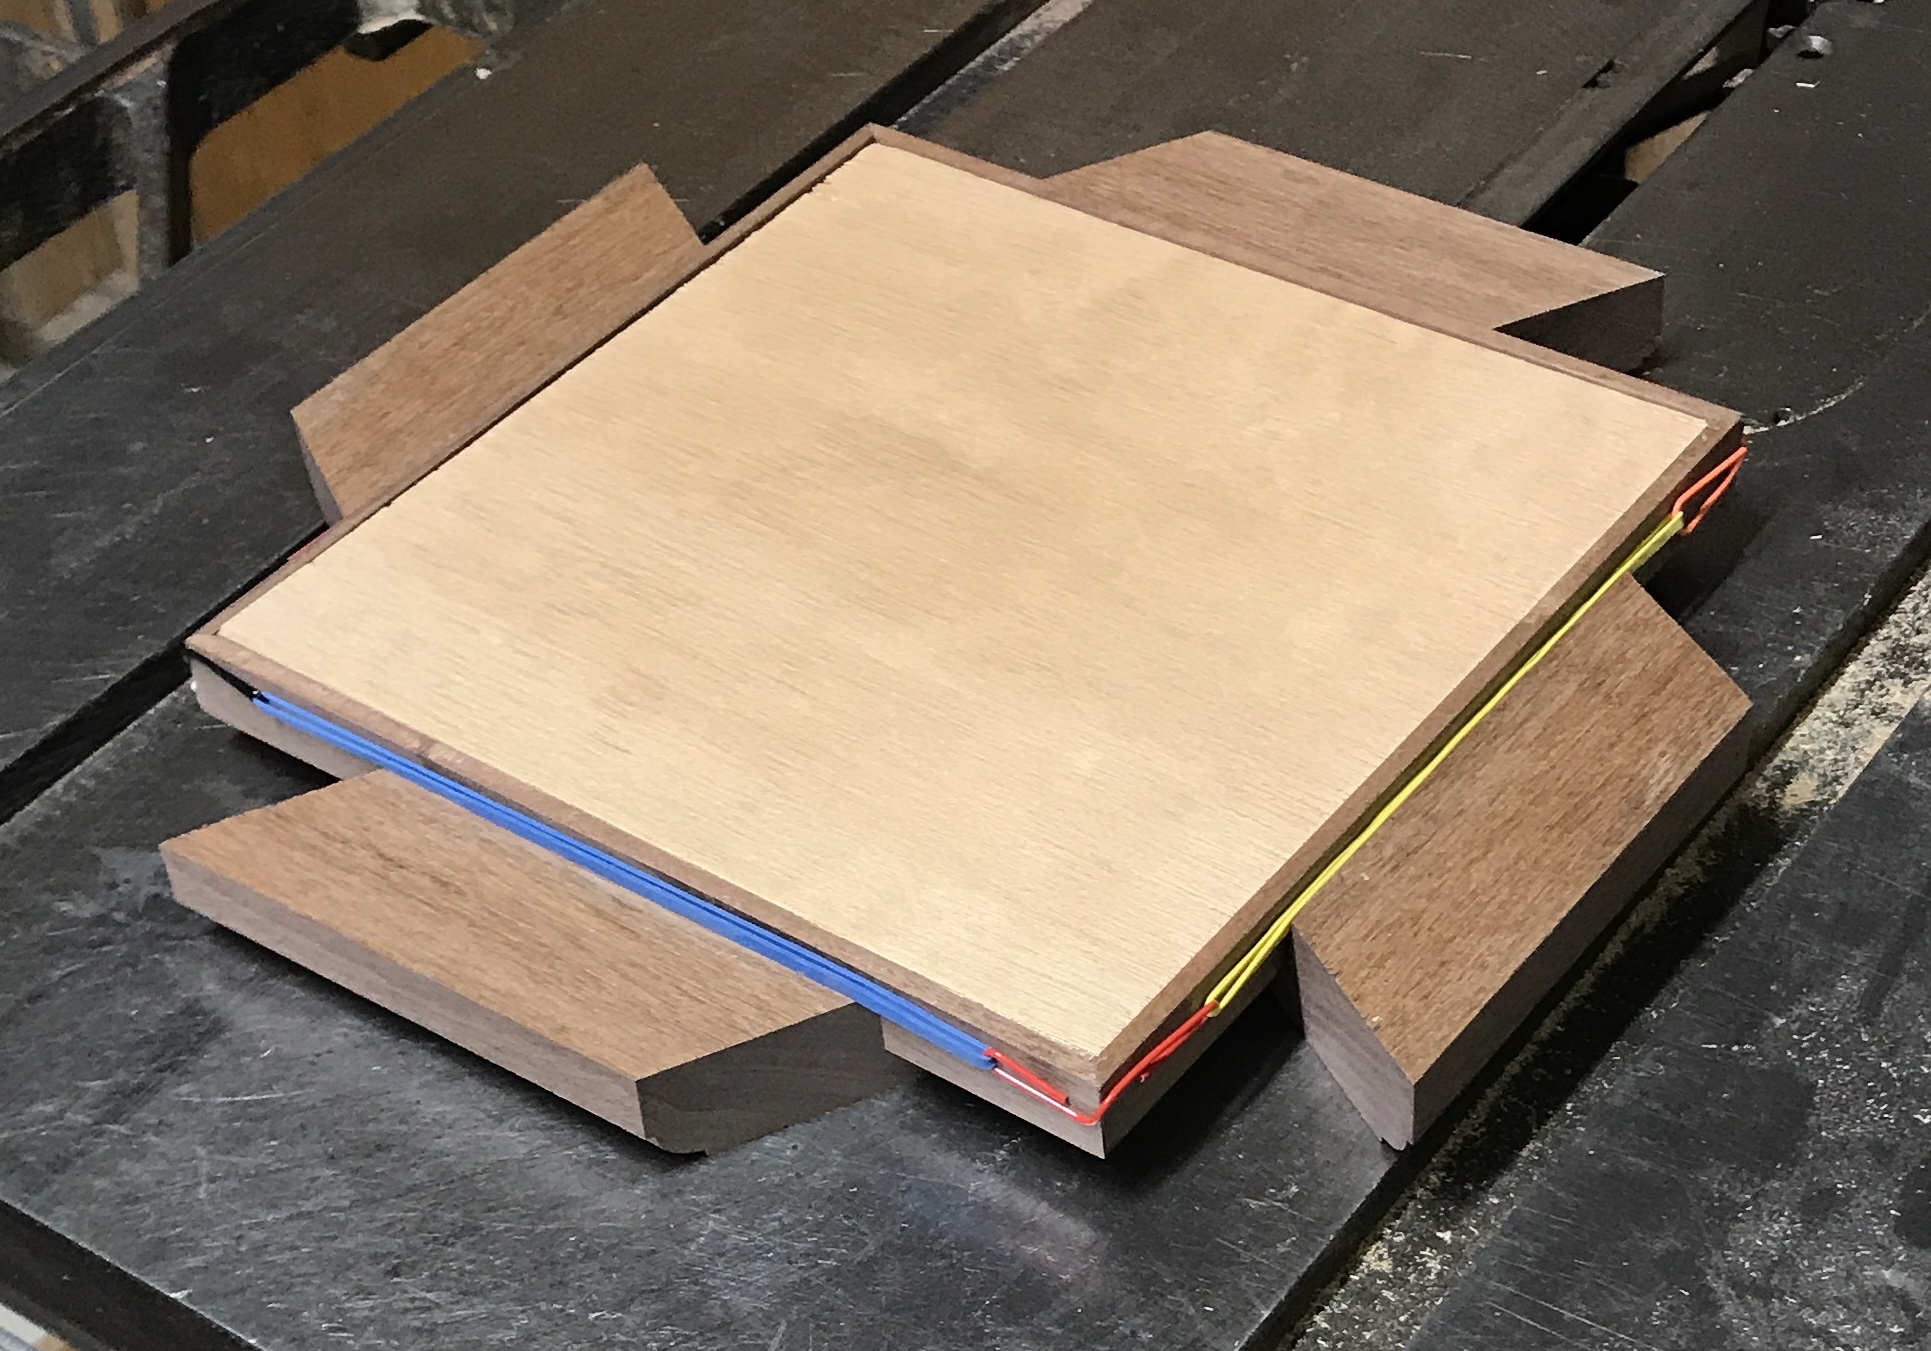
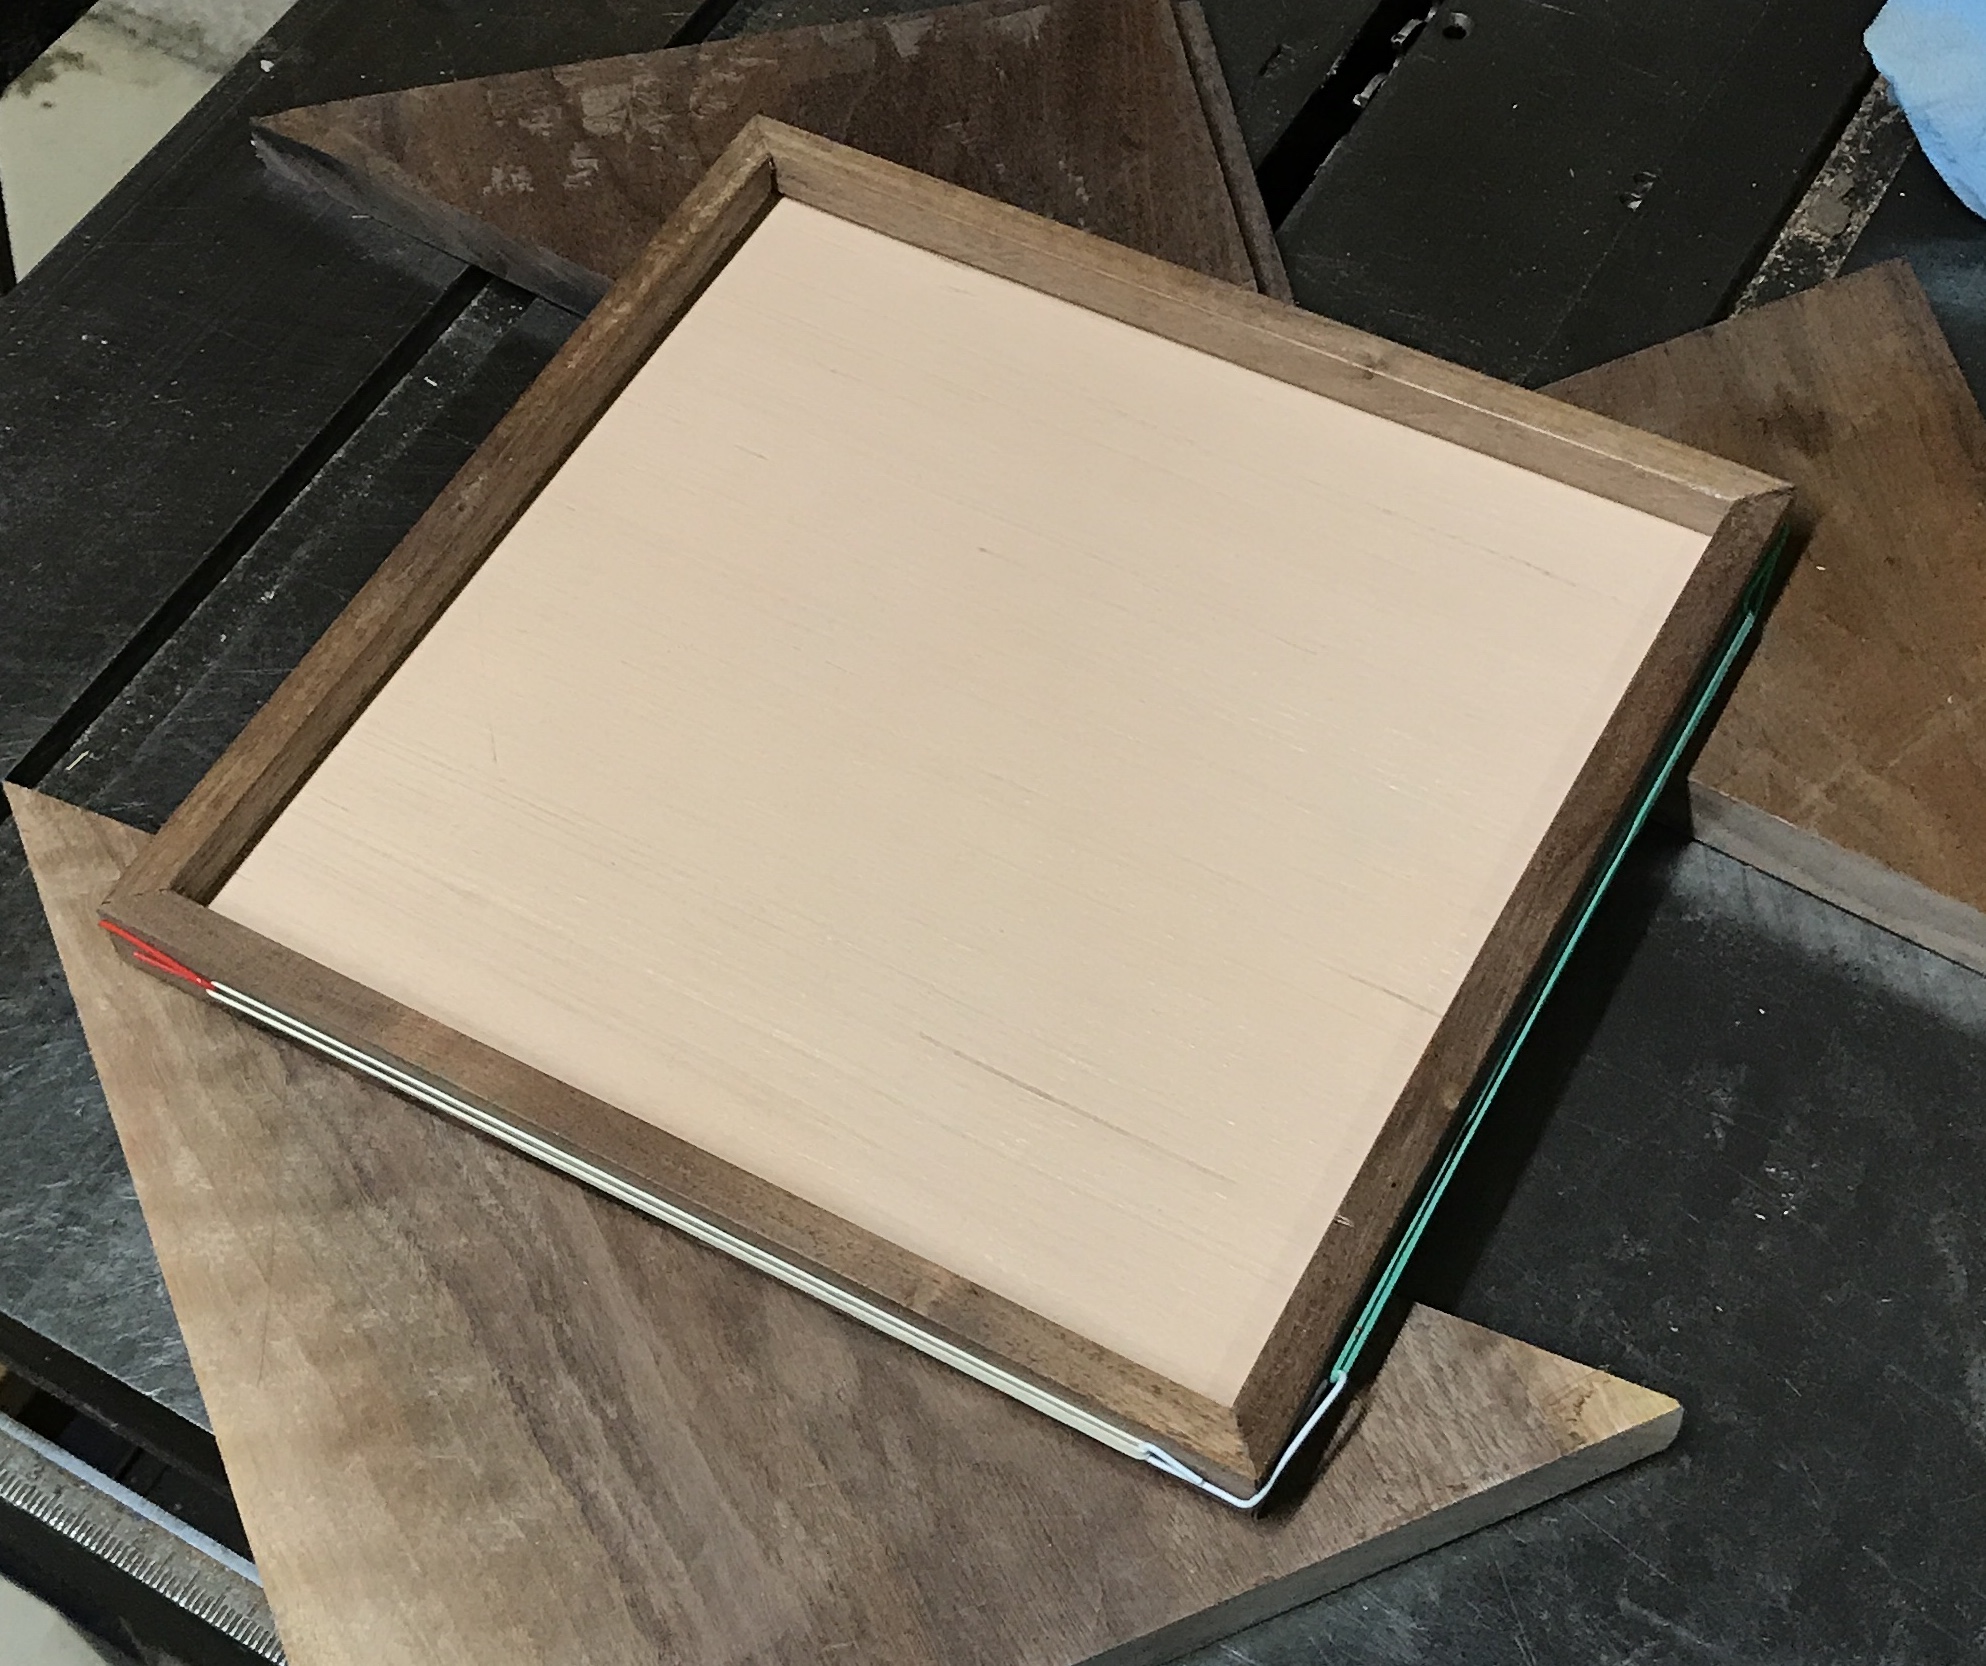
It was not clear how best to clamp this mitered frame during glue up. I decided to use rubber bands, but they were too small to go all the way around the frame. Using both paper clips and rubber bands (ala tetrahedron clamping) was found to be the solution. The paper clips were opened to 90°. One was used at each corner. The paper clips were linked with rubber bands. After a trial run glue was put on the mitered ends of the frame. They were put together, the bottom was put in place, and the whole assembly was clamped with the rubber band - paper clip clamp. The picture below shows the glued up frame while clamped. The assembly is sitting up on blocks.
After the glue dried the frame was taken upstairs and the four quilling works were laid into the frame. Nice fit! There is about 1/8" between the pieces. This gap will be covered nicely by the dividers. The bottom was left loose so the artwork could be glued and clamped to it. The bottom can then be glued to the frame and the dividers glued to the frame as well.
The dividers were cut to fit the frame. One was 7" long and one was 6 7/8" long. Their centers were marked. These marks were aligned as the dado was cut. The regular blade was used with a couple of passes at 3/16" depth. The dividers were sanded and the corners of the frame were also sanded. A witness mark was put on one of the dividers to align with the witness marks on the frame and bottom. Two coats of tung oil were wiped onto the tops and sides of the frame and the dividers.
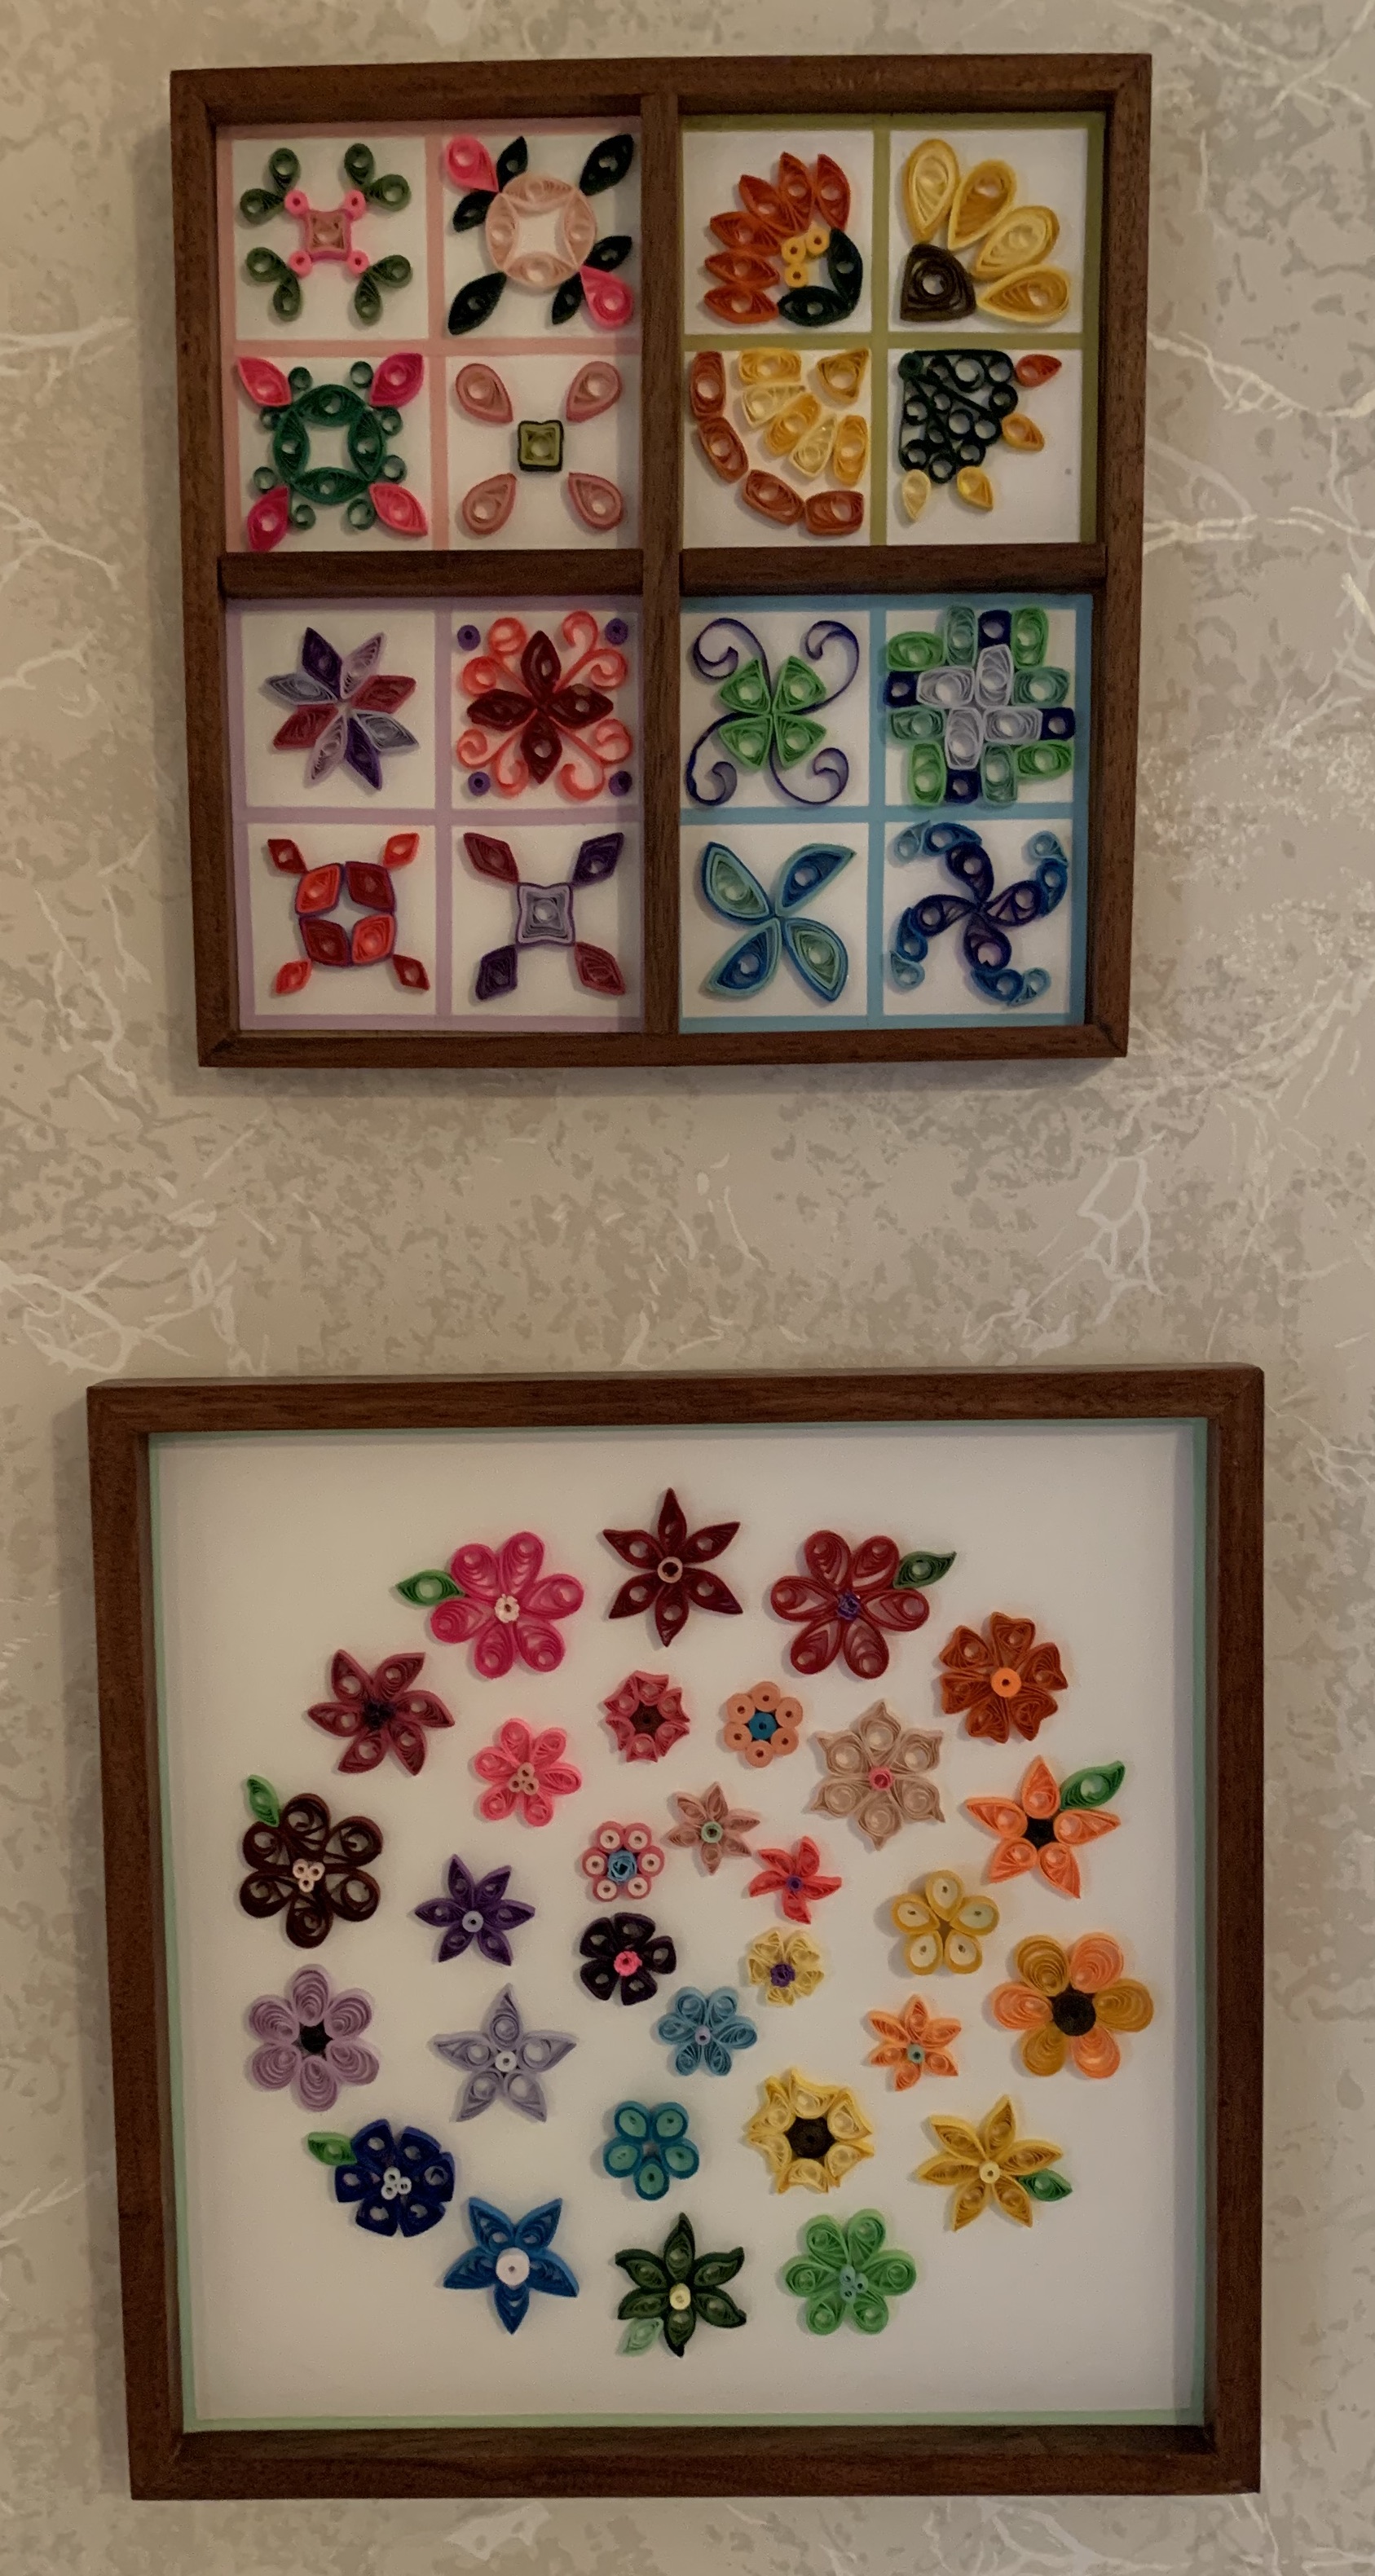
No sooner do I get one made and Rhea asks for a second! She has a second quilling piece that is 9" X 9". She wants a matching frame. I will need to grab another length of walnut from the storage in the garage. A suitable piece of walnut was located. The rough side was ripped so the blank was 7/8" wide. The fence was set so the outside of the blade just aligned with the free side of the blank. A 1/8" X 1/4" rabbet was cut in both sides of each blank. The blank was ripped down the middle. Four of the resulting pieces were selected and a final pass was made so that all were precisely the same width, 3/8". This frame will be 1/8" wider for esthetic reasons. The four frame sides were cut at a 45° miter on both ends. The lengths were "snuck up on" so the final sides are 9 3/8" on the outside. The bottom was then cut to fit at slightly more than 8 7/8". The picture shows the frame set around the bottom.
All of the framing members were sanded with 220 grit paper. A few spots were quite rough and needed 100 grit first. All of the edges were very lightly chamfered. Glue-up was more challenging this time. The slightly larger size made wrapping the rubber bands around the frame difficult. But I got it done before the glue was too tacky. The picture below shows the glued frame. (The bottom is not glued in yet.)
When I returned from lunch to remove the "clamps", the rubber bands and paper clips were nowhere to be found. I assume one of the rubber bands broke, but where they flew is anyone's guess.
The frame does not quite fit over the picture, 1/16" to 1/8" too small. With Rhea's permission I will use a knife to trim the edges off of the picture. This was done. The picture was clamped between a ruler and a piece of thin plywood. The ruler edge was set at 1/16" from the edge of the picture. The Exacto knife was used to cut along the edge of the ruler. (After struggling with the first side the blade was replaced! Orienting the blade so the back is rotated away from the ruler helped with cutting to the line.) After all four sides were cut the picture fit nicely within the frame. Two coats of tung oil were applied to the frame.
Two #4-1/2" wood screws and two #6 washers were located. These will be used to hold the back in place. (I found the rubber band and paper clip clamp hanging from a pipe on the furnace, minus the broken rubber band!) The picture was placed in the frame. The picture below shows the almost final product. (A picture hanger is being made to hang the picture.)
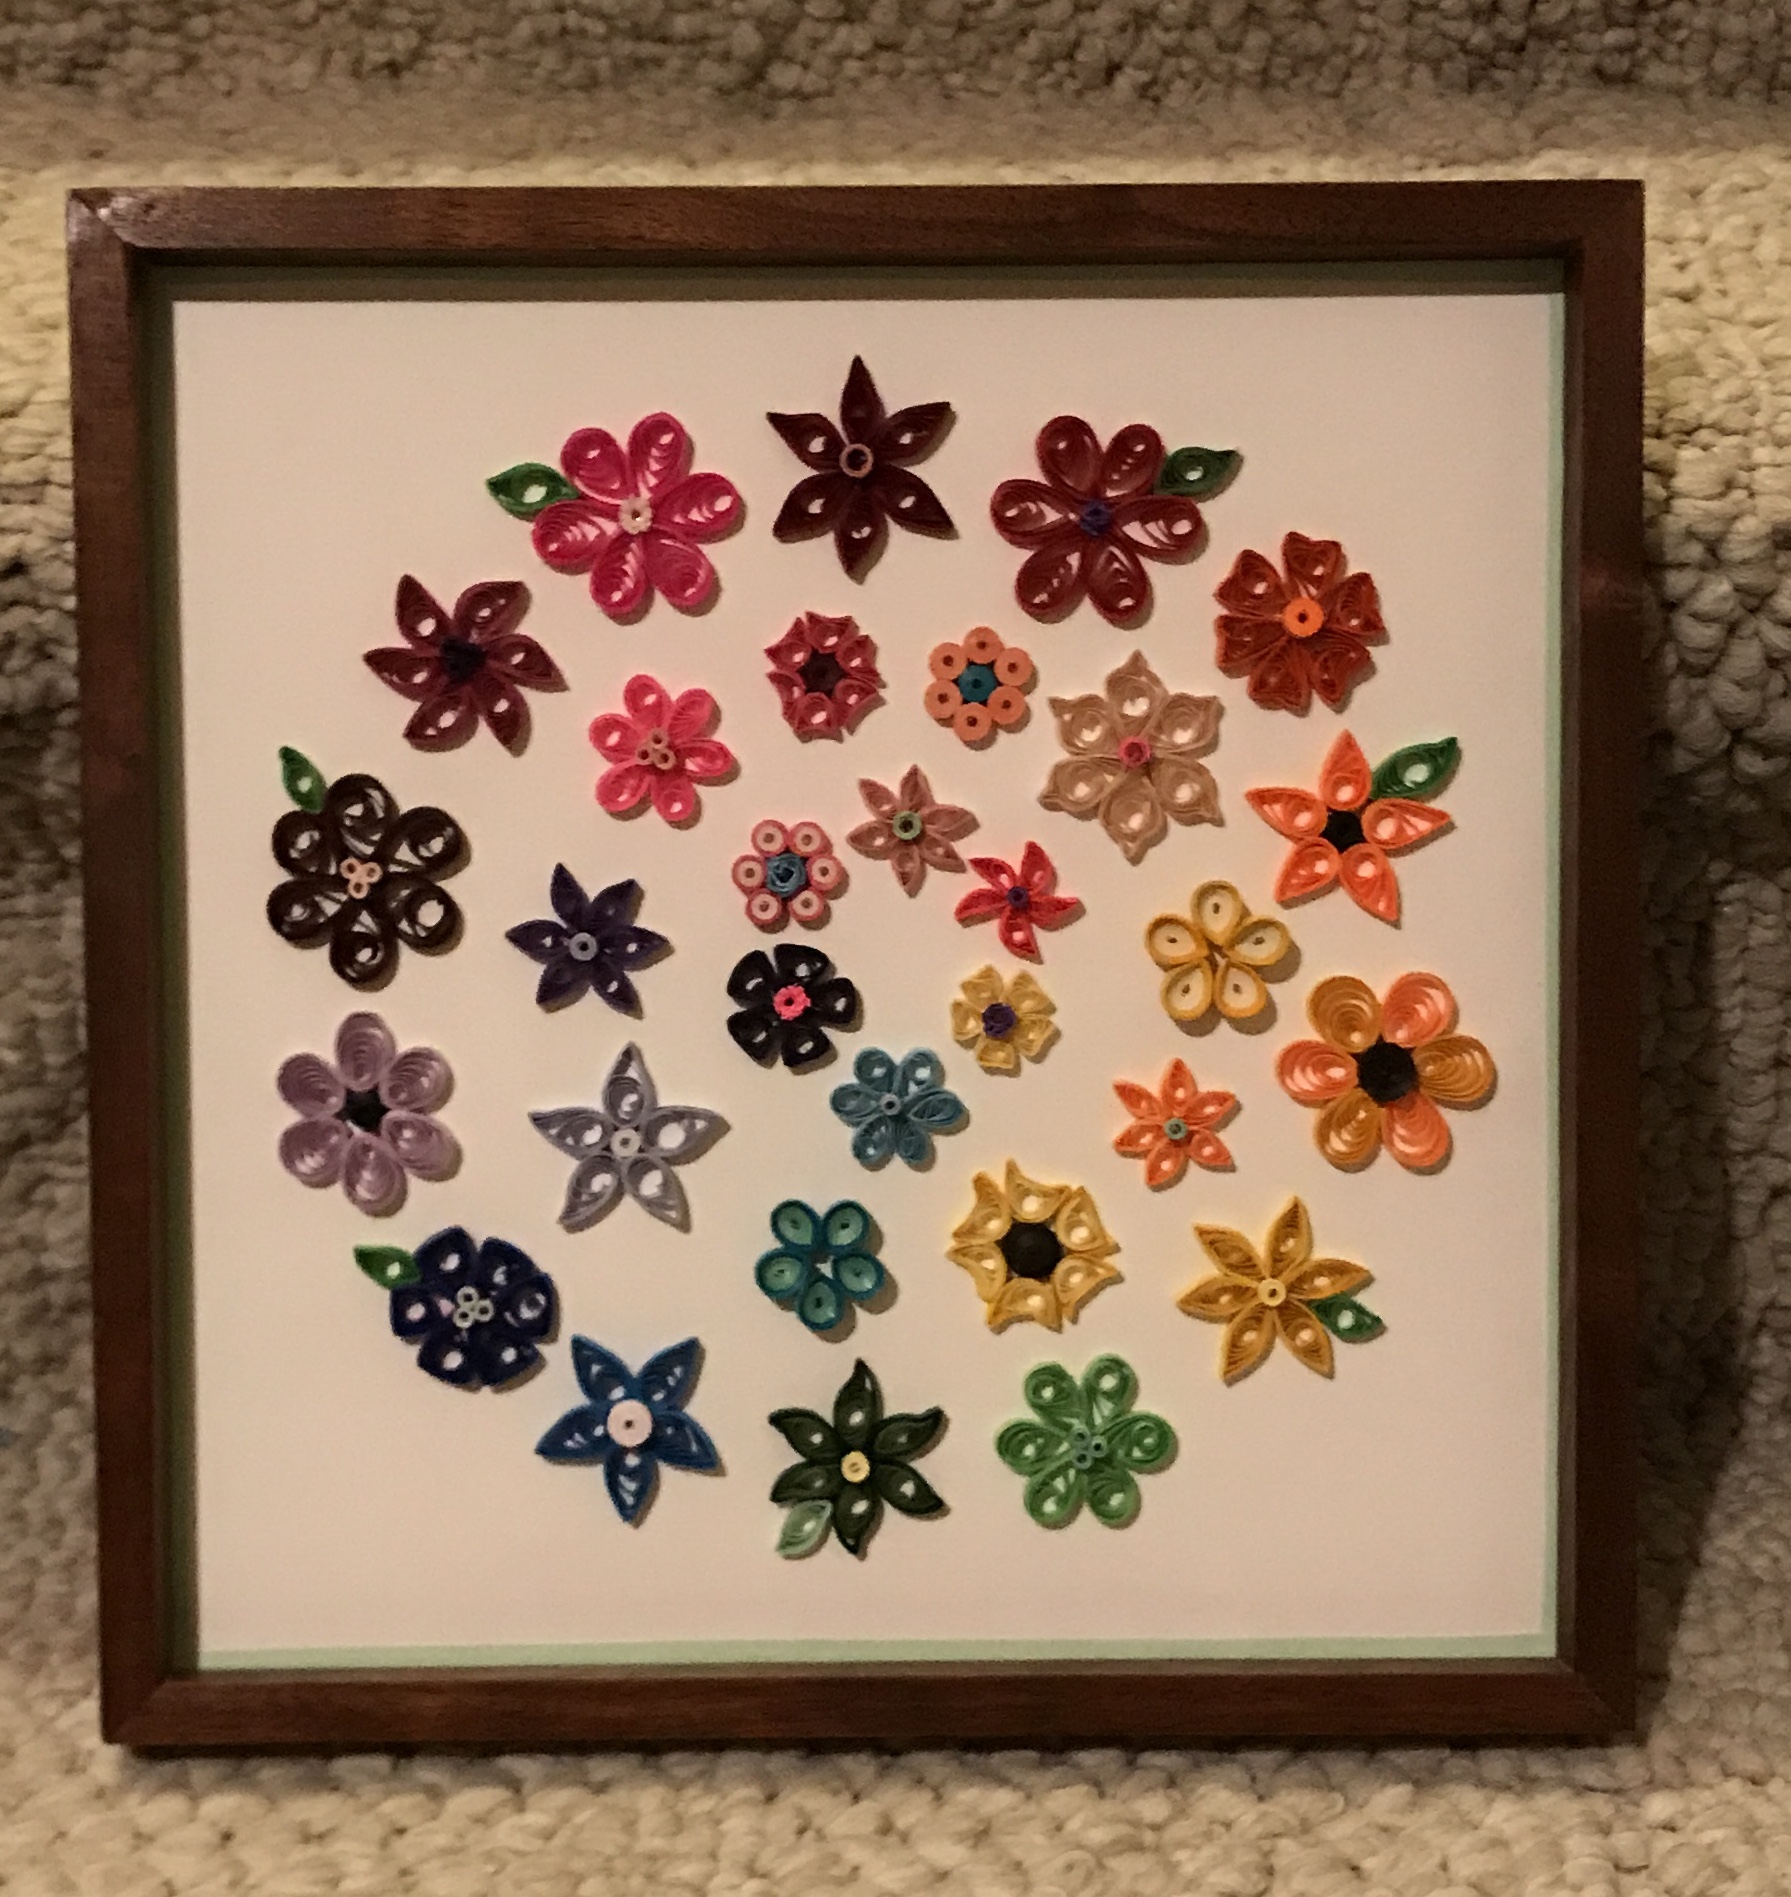
Finally, we finished the second quilling frame. The four pictures were each glued to the wooden back using multiple clamps to keep them flat. Two holes were drilled through the frame and into the ends of the vertical crosspiece. Two #4-1/2" screws held the crosspiece in place. The horizontal crosspiece was glued at the center to the vertical crosspiece. Two of the same screws with flattened washers were then screwed to the frame on the sides to hold the back on.